Can spray booth filters cause paint defects?
Yes, and they cause more of them than most operators realise. Dust nibs and inclusions usually point to intake or ceiling filter bypass, or filters loaded past their useful life. Fish eyes point to external contamination entering through the intake, though silicone on the panel is the more common cause. Orange peel variation across a panel points to uneven airflow from unevenly loaded floor or exhaust media. Solvent pop and slow flash off point to restricted airflow from blocked exhaust filters.
You have stripped and resprayed the same panel twice, checked your mix, changed the tip and cleaned everything twice over. The defect is still there.
At that point the temptation is to blame the paint or the operator, but the booth is the variable that rarely gets examined, and filtration is the part of the booth most likely to have quietly changed since the last time everything was fine. Most paint booth contamination troubleshooting starts at the gun and works outwards. This guide goes the other way, working backwards from the defect to the filter position most likely responsible. It is a list of things to check, not a list of things you should have done.
The Two Ways a Filter Causes a Defect
Filters fail in two directions, and knowing which one you are dealing with halves the search.
The contamination path is the obvious one. Media that is loaded, torn, wrongly graded or badly fitted lets particles into the booth atmosphere, where they land on wet paint. The airflow path gets missed. Loaded media restricts extraction, which changes the pressure balance inside the booth and affects how solvent evaporates and where settled dust ends up. A filter at the opposite end of the booth from the dust can still be the reason the dust moved.
Dust Nibs and Contamination Inclusions
Dust nibs are small raised specks in the film where a particle has landed on wet paint and been coated over. They are the most common finish defect in refinishing and the one most strongly linked to filtration.
Start upstream. Check the intake or pre filter first, because if it is loaded, poorly fitted or missing there is nothing downstream to catch workshop dust. In a downdraft or semi downdraft booth, check the ceiling media next, since torn or sagging ceiling filters drop unfiltered air straight onto the panel and this is the single most overlooked cause of persistent nibs. Then check fit rather than condition, because a filter in good order that does not fill its opening lets air stream around the edge on every cycle.
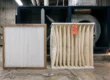
Two physical checks are worth doing while you are there. Run a finger around each frame and feel for a gap between the media edge and the housing, since that is a bypass you can find in thirty seconds. Then look at how the media has loaded: uniform discolouration across the full face is normal, but clean patches surrounded by dirty areas mean air has been travelling around the filter rather than through it. That is a different problem from a filter that is simply due.
Finally, consider the exhaust end. When exhaust filters clog, extraction slows and the booth loses its designed pressure balance, creating turbulence that lifts settled dust off surfaces instead of carrying it away.
Fish Eyes and Cratering
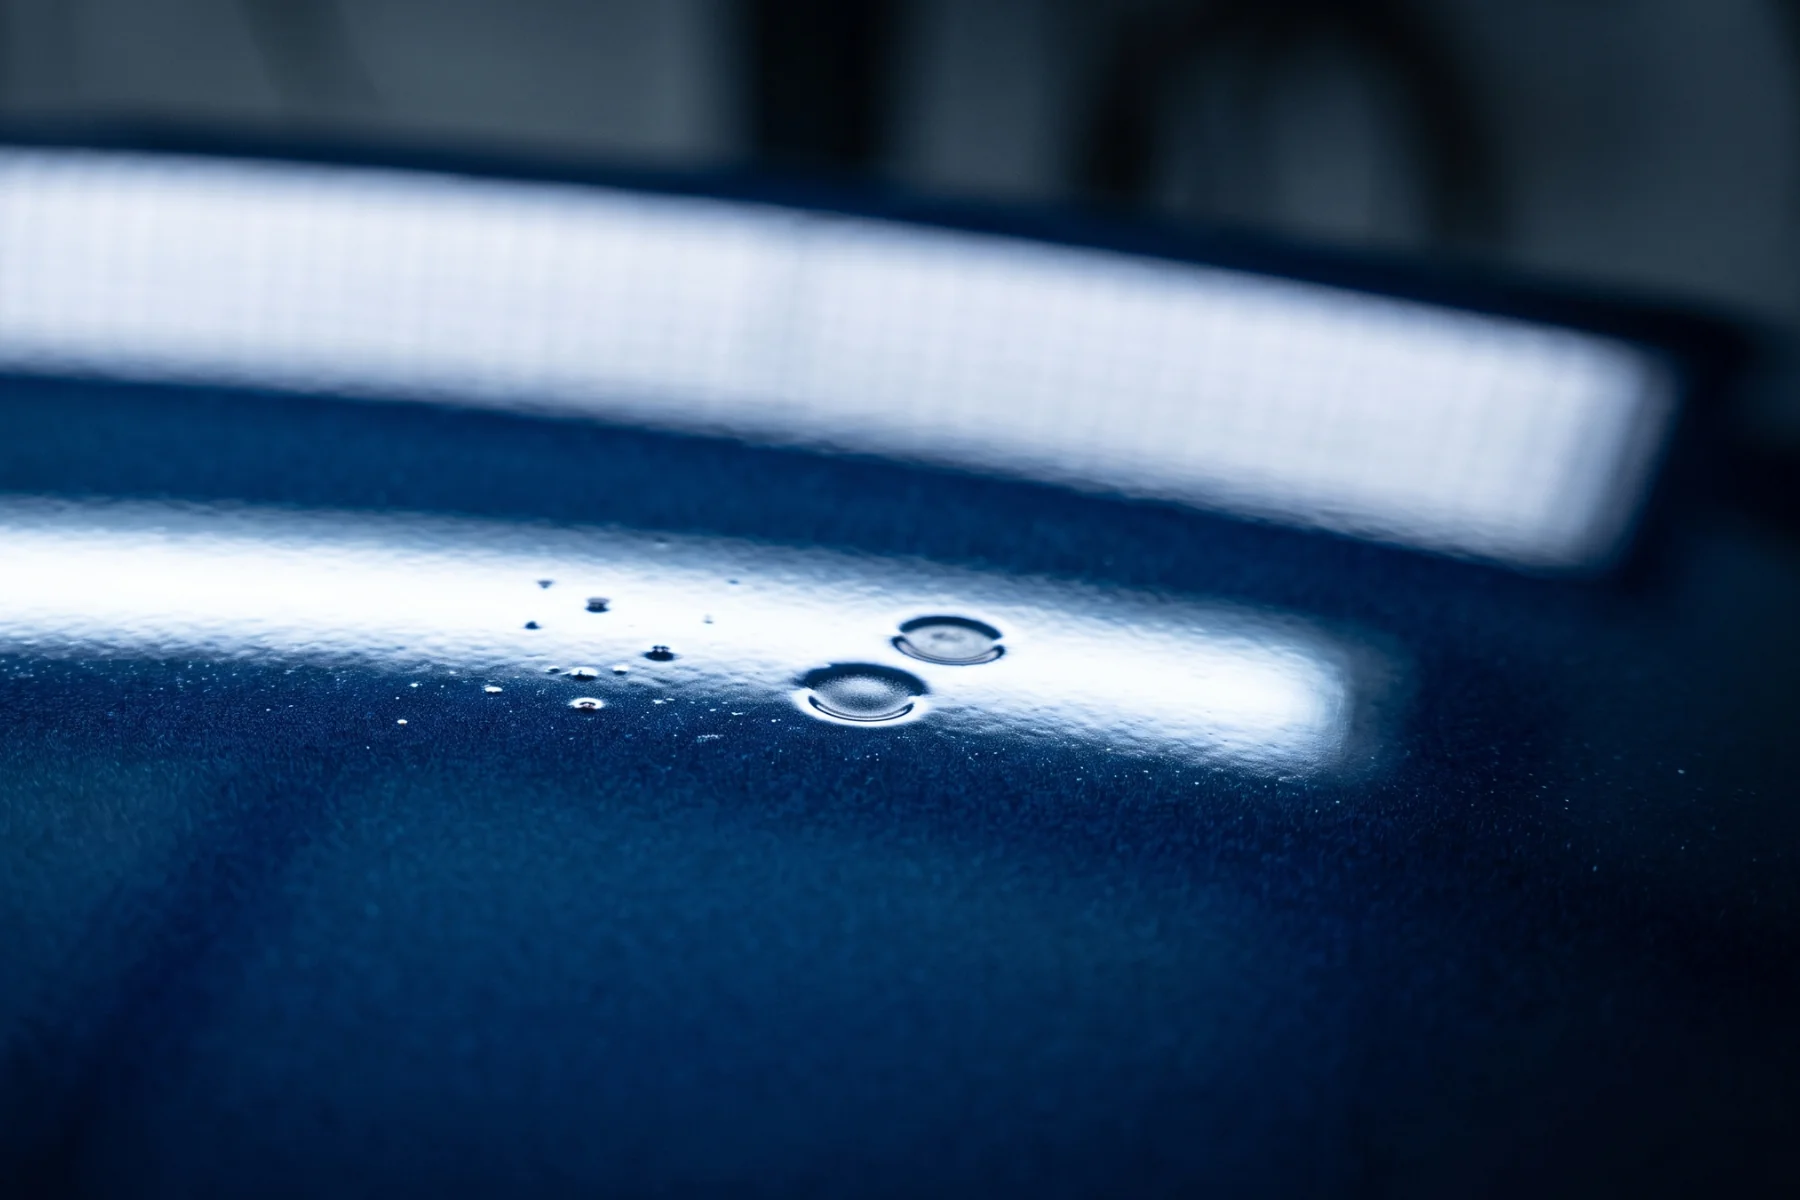
Fish eyes are small circular craters where the paint has pulled away from a contaminated spot on the surface. In most cases the cause is silicone or a similar contaminant on the panel itself, from polish, lubricant spray or hand cream, and no filter will fix that. Rule out the panel first, because it is both the more common cause and the cheaper thing to check. Check your compressed air line at the same time, since oil carrying through to the gun produces the same defect.
If the panel and the air line are clean and the problem persists across multiple jobs, look at what the booth is drawing in. Silicone aerosols used elsewhere in the workshop can be pulled in through the intake if the pre filter is bypassed, or through a secondary intake such as an unfiltered door vent. Oil mist from a nearby compressor drawn in through an intake does the same. The tell is fish eyes appearing on jobs from different vehicles with different preparation histories, which points at the air rather than the panel.
Uneven Finish and Orange Peel Variation
This is where the diagnosis usually goes wrong, so it is worth being precise. Orange peel across an entire panel, consistently, on every job, is a spraying variable. Gun setup, air to fluid pressure, tip size, reduction and flash time are your suspects, and filtration is not one of them.
What filtration causes is variation. Smooth in one area of the panel and textured in another, or the same technique producing different results in different parts of the booth. That pattern points to uneven airflow, and uneven airflow points to unevenly loaded media. Floor filters that have collapsed or loaded heavily in the traffic lanes create high and low resistance zones across the booth floor, so extraction is stronger in some areas than others. The same happens on an exhaust wall where some panels are saturated and others were changed more recently.
The fix is a discipline rather than a product. Change media across a whole position at once rather than panel by panel, which keeps resistance uniform across the face.
Solvent Pop and Slow Flash Off
Solvent pop shows as small burst bubbles in the film where trapped solvent has escaped after the surface has skinned over. Film build, mix ratio and flash times are the primary causes and should be checked first. Airflow is the environmental factor that compounds them, because solvent evaporation depends on air moving across the surface at the designed velocity.
When exhaust filters are heavily loaded, extraction volume drops, air movement across the panel slows, and solvent lingers in the film longer than the product data sheet assumes. Slow flash off, extended cure times and solvent pop appearing on a job that has always been fine are all worth connecting to your extraction rather than your product. Check the manometer against your clean filter baseline before you start adjusting reduction or flash times.
Overspray Misting on Panels You Were Not Spraying
Fine paint mist on adjacent panels, or contamination turning up between jobs, points at exhaust media that has lost its integrity rather than simply loaded up. Once media tears, thins or pulls away from its frame, fine particles recirculate inside the booth instead of being captured.
Inspect the exhaust faces for tears and thinning, then look for paint deposits on the booth walls above the exhaust plenum line. Deposits there are a bypass signature, because that paint should have been caught rather than carried past.
Quick Reference: Spray Booth Paint Defects and the Filter Cause Behind Them
Save this table. It covers the defects that trace back to filtration, the position to inspect first, and what to do about it.
| Defect | Most likely filter cause | Check first | Action |
| Dust nibs and inclusions | Intake or ceiling filter bypass, loaded media, or clogged exhaust causing turbulence | Intake and pre filters, then ceiling media condition and fit | Replace loaded media, confirm exact fit at every opening, check for unfiltered secondary intakes |
| Fish eyes and cratering | External contamination drawn in through an unfiltered or bypassed intake | Panel preparation first, then intake filter fit and secondary vents | Rule out silicone on the panel, then seal and filter every intake including door vents |
| Uneven finish and orange peel variation | Unevenly loaded floor or exhaust media creating airflow variation | Floor filters for collapse and traffic lane loading, exhaust wall for mixed age panels | Replace media across the whole position at once rather than panel by panel |
| Solvent pop and slow flash off | Restricted extraction from heavily loaded exhaust filters | Manometer reading against clean baseline | Replace exhaust media, confirm baseline is recorded, check fan and ducting for overspray build up |
| Contamination on the lower panel only | Floor filter bypass allowing overspray back into the spray zone | Floor grate edges for channels and gaps | Replace with correct thickness media that fills the grate opening completely |
| Defect persists after changing one filter | A different position is the actual cause | Every remaining position in the booth | Work through the full filter set rather than assuming the last change fixed it |
When a New Filter Is Still the Wrong Filter
Operators get caught by this one regularly. A filter can be brand new, correctly seated and still be the reason you have nibs, because grade and fit matter as much as age.
If the media at your intake is too coarse for the environment, fine particles pass straight through and land on the panel while the filter looks perfectly serviceable. Metallic finishes are least forgiving here, because flake related defects are highly visible under a light. The other version is dimensional. A correctly graded filter that does not fill its opening does less work than a coarser one that seals, because air will always take the gap. If your booth is older, imported or modified, check this before replacing anything else, since why exact filter fit matters is the difference between a filter working and a filter merely being present.
The Trap of Fixing One Position
The most frustrating scenario in this whole area is the shop that identifies a filter problem, replaces that filter, and finds the defect still there. It happens often, and the reason is almost always that the booth has more than one filter position and only one was addressed. Someone changes the exhaust wall because that is the visible one, while the ceiling media that actually caused the nibs stays where it is.
Filtration is a chain, so diagnosis has to cover the whole chain. When you are chasing a defect, walk the booth and check every position rather than the one you happen to think of first. Note the condition, the fit and the age of each, and change anything questionable while you are there. It is far cheaper than another respray, and a replacement interval guide by filter position will tell you which ones were due anyway.
When It Is Not the Filter
Being honest about the limits of this matters, because chasing filtration when the cause is elsewhere wastes time. Uniform orange peel across every job is a gun and technique issue. Runs and sags are application. Colour mismatch is mixing and blending. Adhesion failure is preparation.
Three signals point to filtration instead. The defect involves foreign particles embedded in the film. The same job and technique produce different results in different parts of the booth or on different days. Or the defect appeared with no change to your product, mix or method.
That last signal is the strongest. If nothing about your materials or method has changed and the finish has started going off, something about the environment has. Filtration is the part of the environment that degrades continuously and silently, which is exactly why it deserves to be checked early rather than last.
Identified the position causing your defect? Get the right replacement fast. Shop the AeroFlow Filters range, call 1800 99 88 76, or email sales@aeroflowfilters.com for advice on your specific booth.
Frequently Asked Questions
Can spray booth filters cause paint defects?
Yes. Filters cause defects in two ways: by letting contamination through, and by restricting airflow. Loaded, torn or poorly fitted intake and ceiling filters allow dust into the booth atmosphere where it lands on wet paint. Loaded exhaust filters restrict extraction, which changes airflow patterns, slows solvent evaporation and can lift settled dust rather than carrying it away.
What causes dust nibs in paint?
Dust nibs are particles that reach the wet film. The most common filtration causes are a loaded or bypassed intake or pre filter letting workshop dust in, torn or sagging ceiling media dropping unfiltered air onto the panel, and clogged exhaust filters creating turbulence that lifts settled dust. Check fit as well as condition, because a filter in good order that does not fill its opening still lets air past the edge.
Which filter position should I check first for paint contamination?
Start upstream and work downstream. Check the intake or pre filter first, since it is the only barrier between workshop air and the booth. Then check ceiling or plenum media in downdraft and semi downdraft booths, because it fails quietly and drops contamination directly onto the work piece. Check the exhaust wall last, as its contribution to contamination is indirect through airflow restriction.
Can a clogged exhaust filter cause solvent pop?
It can contribute. Film build, mix ratio and flash times are the primary causes and should be checked first. However, when exhaust filters are heavily loaded, extraction volume drops and air movement across the panel slows, so solvent stays in the film longer than the product data sheet assumes. If solvent pop appears on a job that was previously fine with no change to product or process, check the manometer against your clean filter baseline.
Why do I get orange peel in one part of the booth but not another?
Variation across the booth points to uneven airflow rather than technique. This is usually caused by unevenly loaded media, such as floor filters that have collapsed in the traffic lanes, or an exhaust wall where some panels are saturated and others were replaced recently. The mixed resistance creates stronger extraction in some zones than others. Replacing media across the whole position at once keeps resistance uniform.
I replaced my filters and the defect is still there.
What now? Most likely a different position is the cause. Booths have multiple filter positions, and shops commonly change the visible exhaust wall while the ceiling or intake media responsible for the defect stays in place. Walk the booth and check the condition, fit and age of every position, not just the one you changed. If all positions are sound, the cause is likely application or preparation rather than filtration.
How do I know whether the defect is a filter problem or a technique problem?
Three signals point to filtration. The defect involves foreign particles embedded in the film. The same job and technique produce different results in different parts of the booth or on different days. Or the defect appeared with no change to your product, mix or method. Uniform orange peel on every job, runs and sags, colour mismatch and adhesion failure are application or preparation issues rather than filtration issues.